
Installing on Raspberry Pi
Instead of leaving your computer on all the time to run My Media, many users are buying $30 Raspberry Pi's to run on My Media on. It's really easy to install My Media on the Pi and you can always index media stored on a NAS, on other external storage or on the Pi itself.
Please ensure you have added (and linked) the My Media Skill using the Amazon Alexa Companion app before installing the My Media server app.
You can either install My Media for Alexa via the Raspberry Pi GUI or via an ssh terminal session to your Pi. Separate instructions are provided below:
- Installing My Media for Alexa - Method 1: via Raspberry Pi GUI
- Installing My Media for Alexa - Method 2: via SSH
- Configuring My Media for Alexa
- Uninstalling My Media for Alexa
- Installing ffmpeg
After installing using either method, please follow the instructions at the end of this guide to finish configuration.
Method 1: Installing via the Raspberry Pi GUI
-
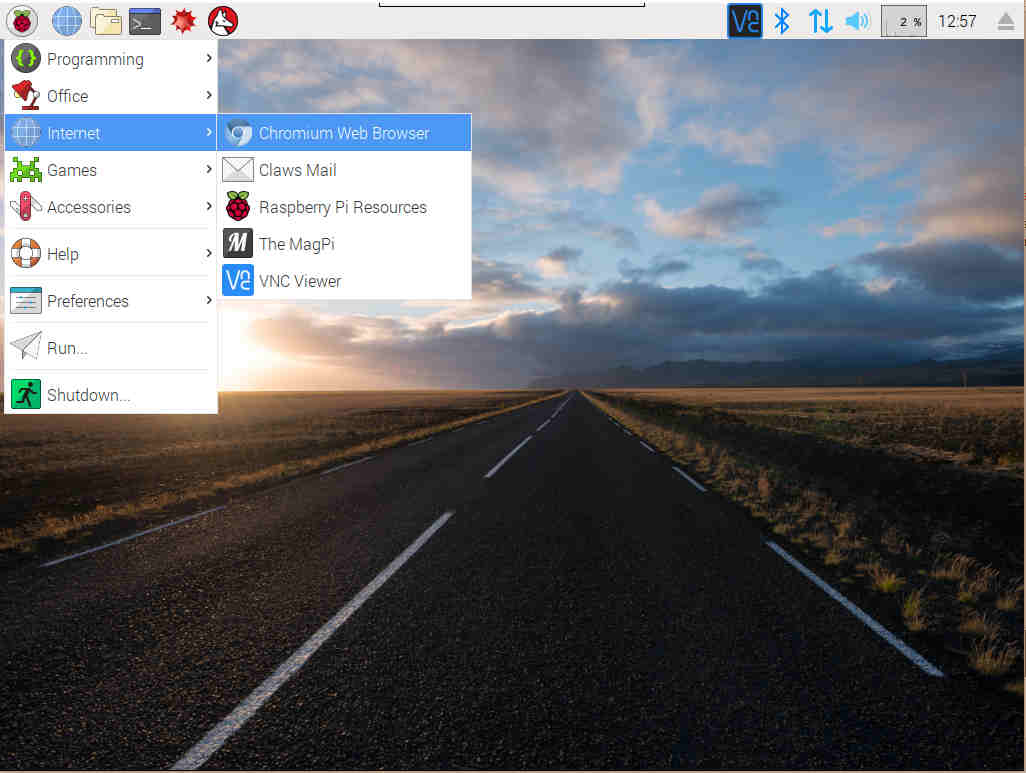
Open the built in Chromium web browser:
-
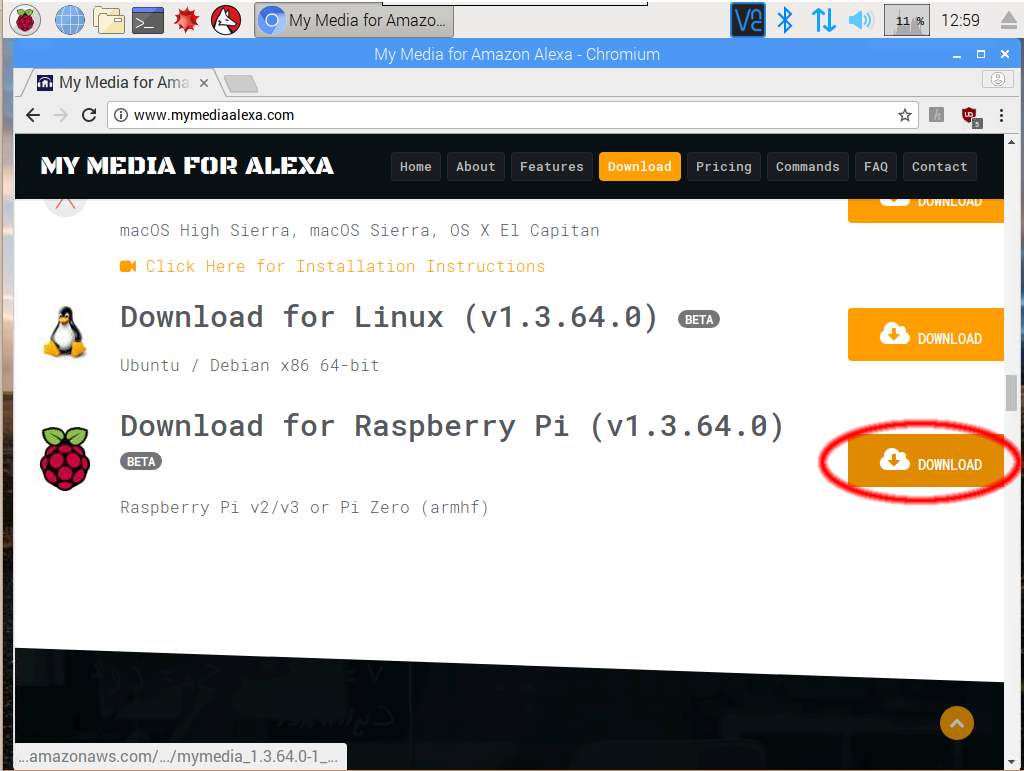
Download the latest Raspberry Pi version of My Media by clicking here:
-
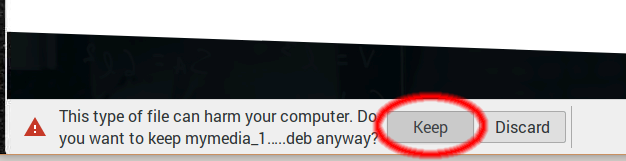
You may get asked whether you want to keep the download file. Choose 'Keep':
-
Once the download is complete, find it in the download bar of the browser and select 'Show In Folder':

-
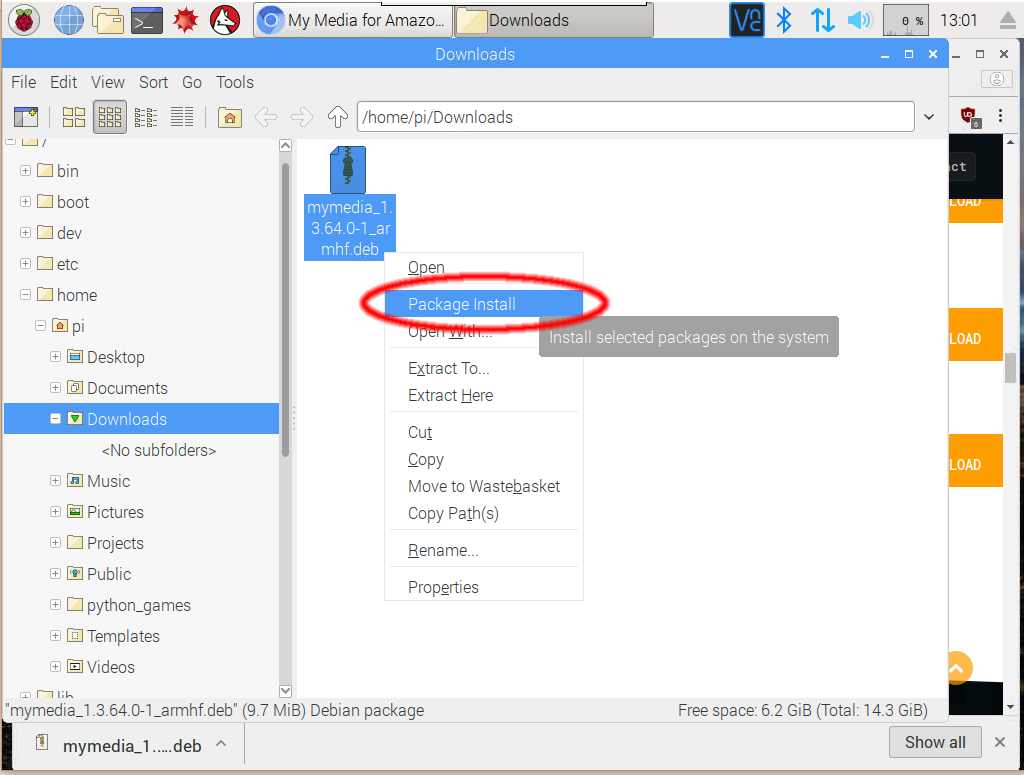
Right-click the downloaded 'deb' file and click 'Install Package':
-
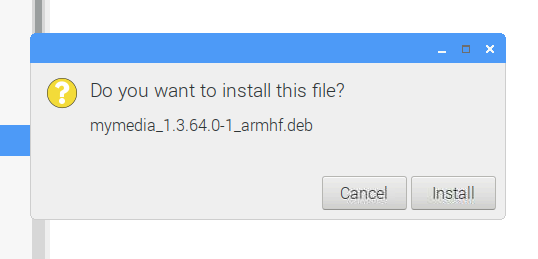
Confirm you want to install the My Media for Alexa package:
-
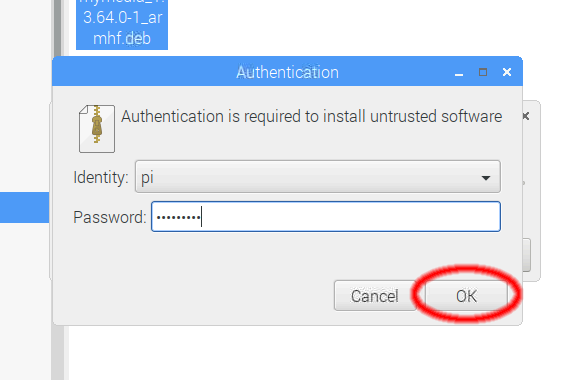
Enter your Raspberry Pi password when prompted (the default password for the pi is 'raspberry'):
-
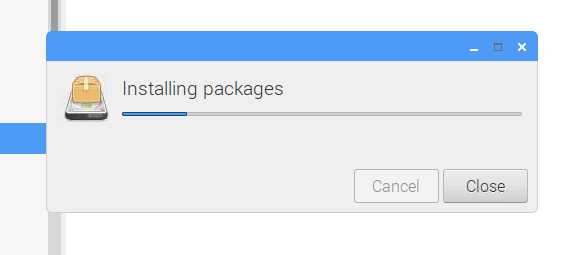
Wait for installation to complete:
-
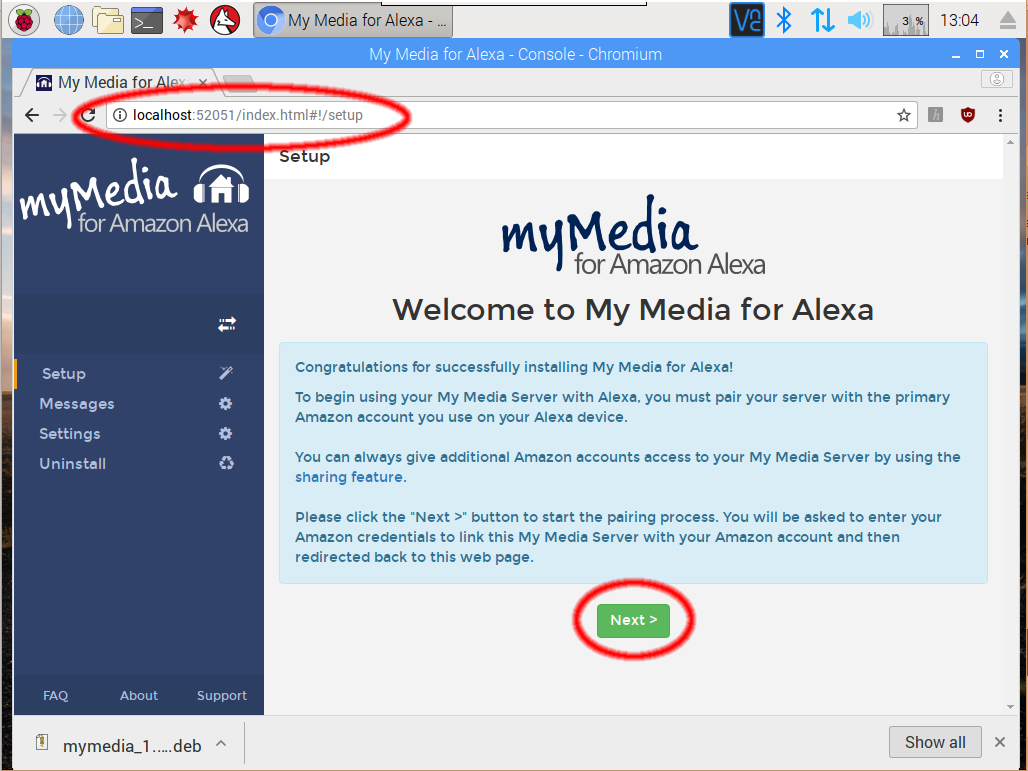
Once the installation window disappears, go back to the web browser and navigate to http://localhost:52051. The My Media Web Console will open and allow you to complete installation:
Now please follow the instructions at the end of this guide to finish configuration.
Method 2: Installation via terminal
- Enable SSH access on your Pi by following these instructions
- SSH to your box from your normal computer, eg by using putty or another ssh client
-
Copy and paste these commands into your SSH terminal to download the My Media installation files:
cd /tmp
wget https://bizmodeller.s3.amazonaws.com/MyMediaForAlexa/1.3.147.994/linux/mymedia_1.3.147.994-1_armhf.deb
The console should look like this: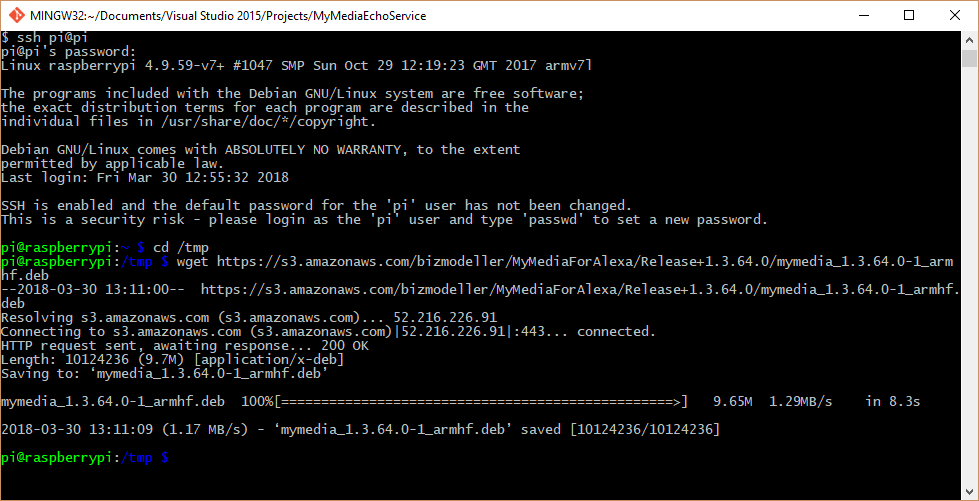 If you receive an error message stating that "The certificate of xxxxxxx is not trusted", please execute this command first:
sudo apt-get install ca-certificates
-
If download is successful, copy and paste this command into your SSH terminal to install the My Media package:
sudo apt-get install ./mymedia_1.3.147.994-1_armhf.deb
The console should look like this: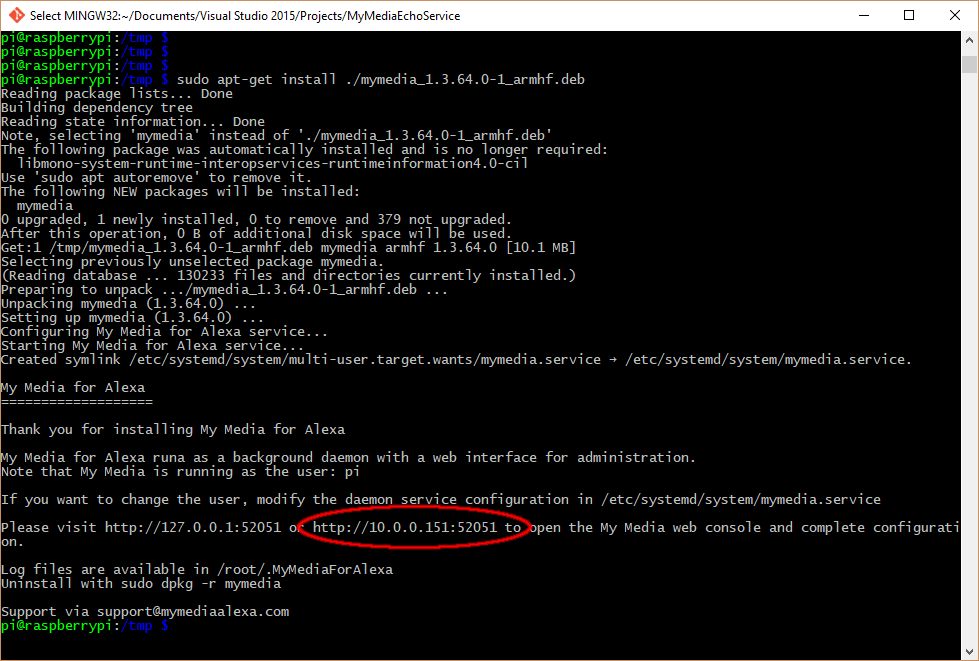 Note for users running Raspbian Jesse:The above instructions are for Raspbian Stretch. If you are using Raspbian Jesse or get errors running the instructions above, try these steps instead:
sudo apt-get install libgdiplus
sudo dpkg –i ./mymedia_1.3.147.994-1_armhf.deb
- Review the installation output log and look for the text circled in red in the image. This is the URL you need to browse to in order to complete setting up My Media
- On your normal computer, open your favourite browser and navigate to http://[ipaddress_of_pi]:52051 (the URL given in the step before)
-
Use the My Media Web Console to complete installation
Now please follow the next set of instructions to finish configuration.
Configuring My Media for Alexa
-
Ensure the My Media Web Console is open (the last step of each installation method above), and then click the 'Next' button on the Welcome screen:
-
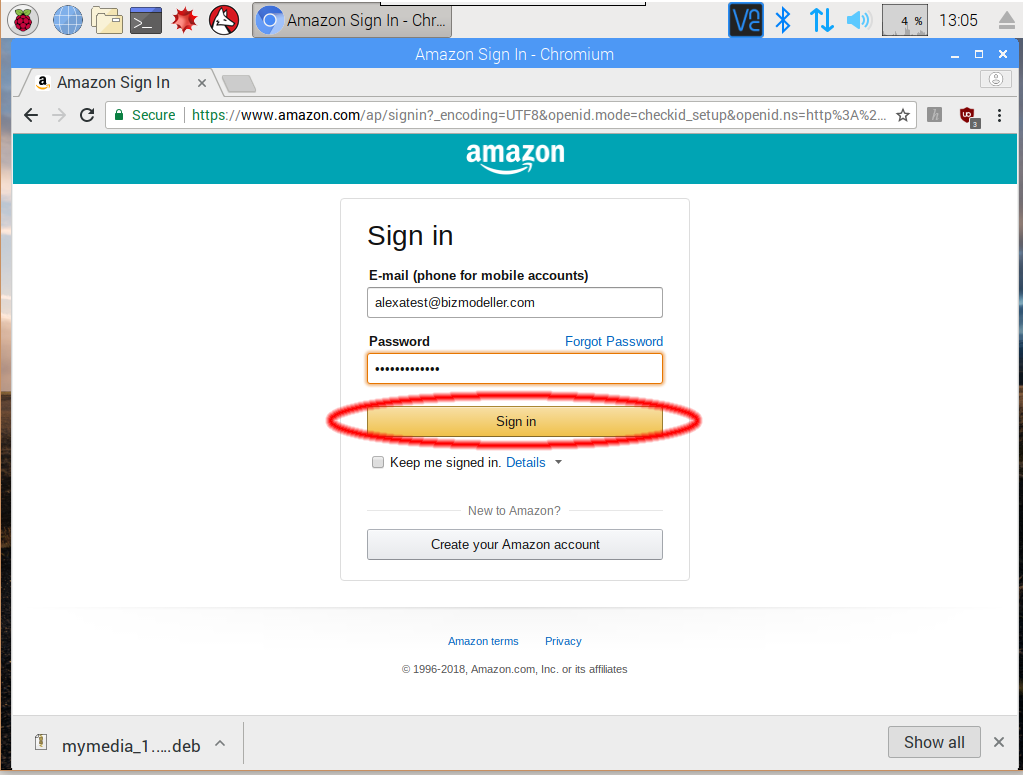
You now need to link your My Media for Alexa install with the Amazon account you use with your Echo device. Enter your Amazon Email address and password when prompted:
-
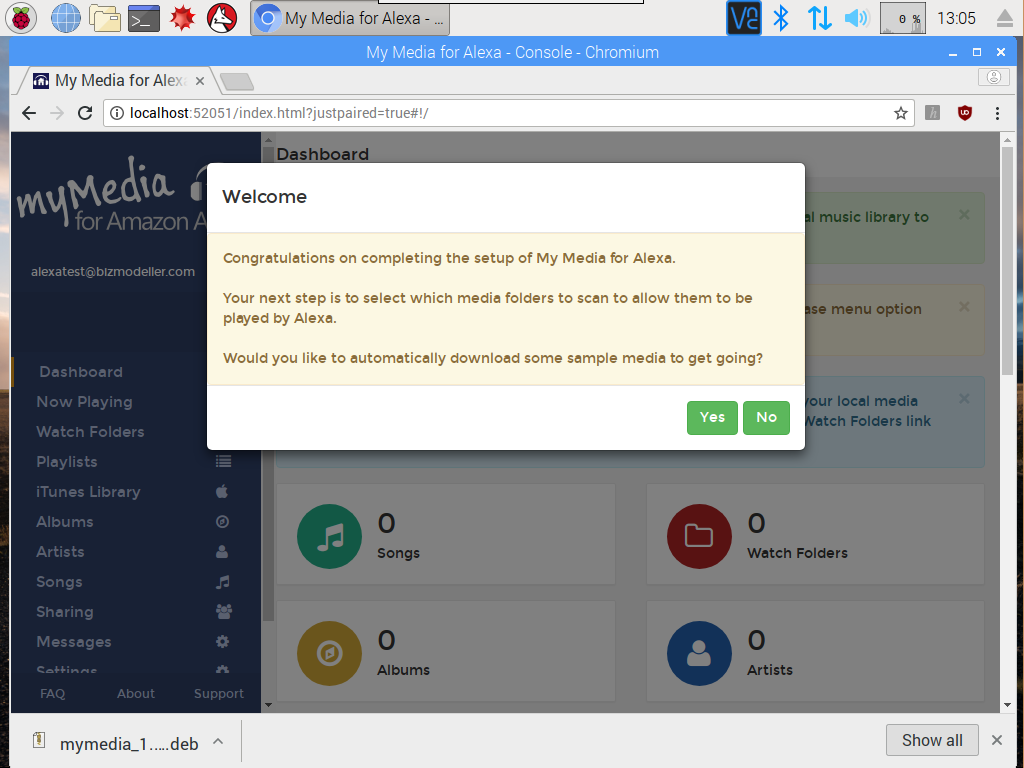
Once paired, you will be returned to the My Media Web Console. You'll be asked if you want to download sample media - you can say Yes or No:
-
The next step is to add your media, click the 'Watch Folders' menu option on the left hand side of the Console:
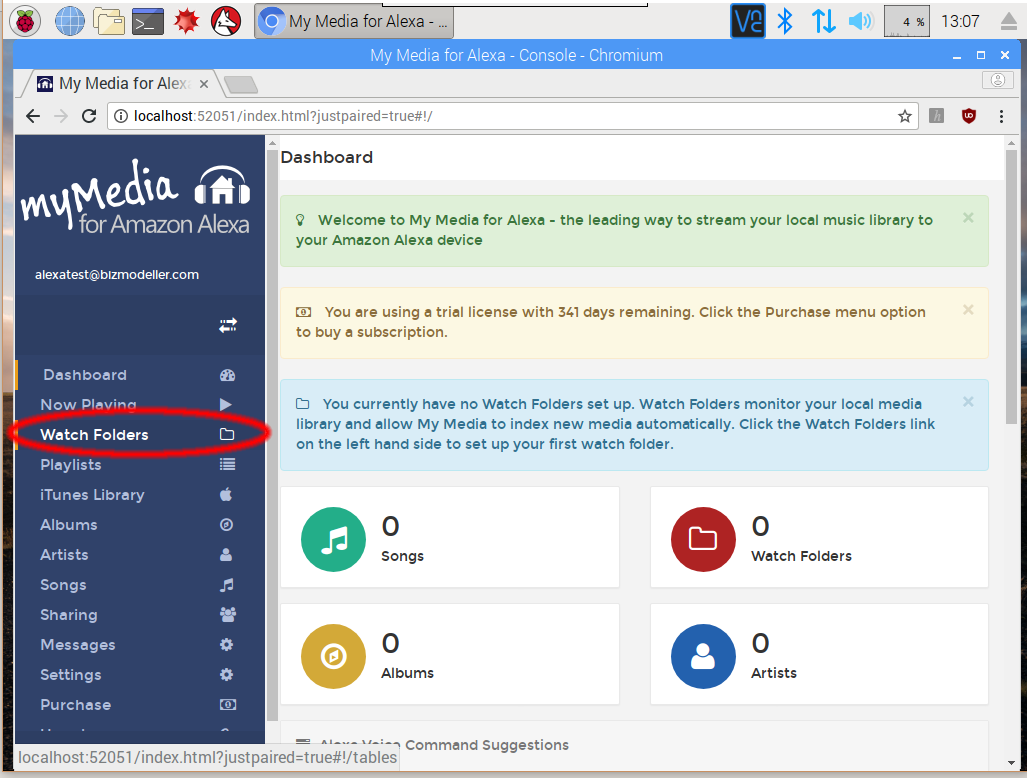
-
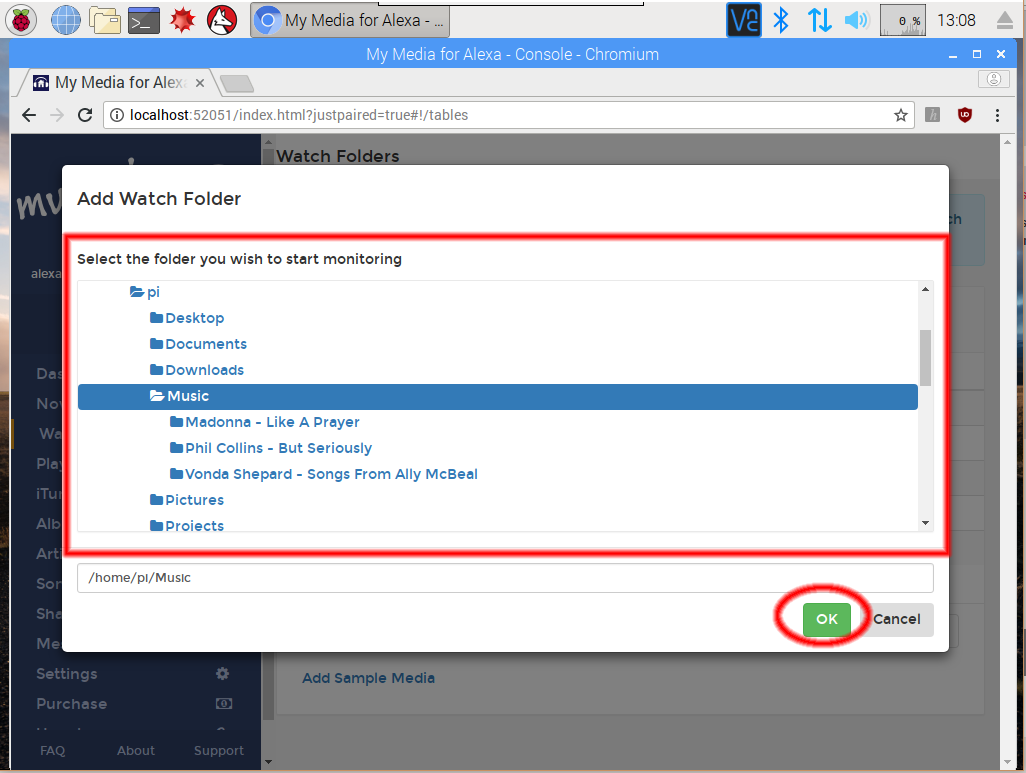
Click 'Add Folder':

-
Navigate the folder structure on your device to find the media, for example /home/pi/Music. This can also be a NAS location if you have mounted your NAS drive:
-
My Media for Alexa will index your media and show that it is now ready for Serving to Alexa:
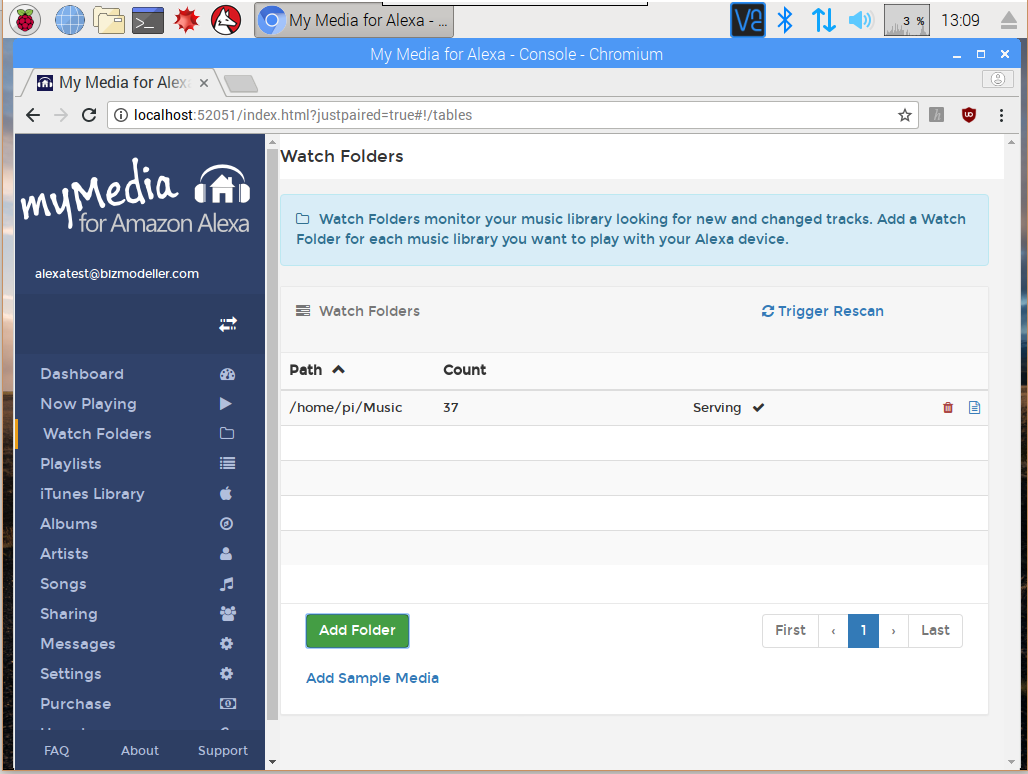
-
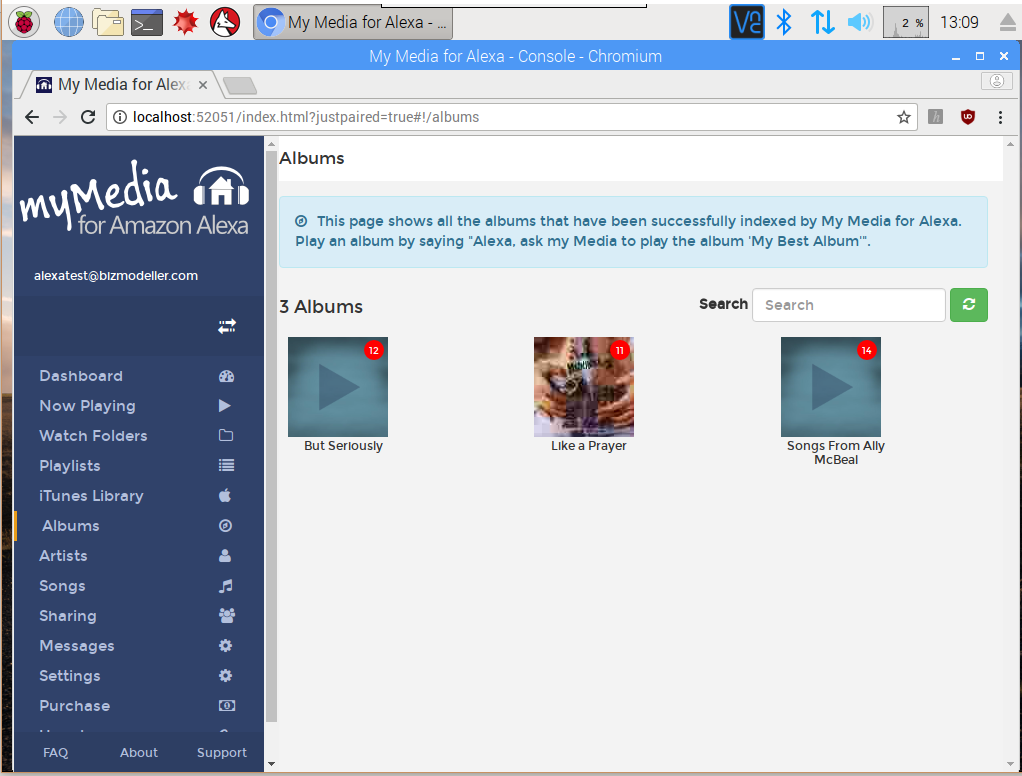
You should now be able to see your media in the various views of the My Media Web Console, eg the Album view:
- Now try playing your music by saying for example, "Alexa, open My Media" or click here to see the other commands you can use.
Click Here to see video instructions on how to finish the set up of the My Media app and skill.
Uninstalling My Media for Alexa
If you do want to uninstall My Media for Alexa, please follow the instructions below. Please also email us at support@mymediaalexa.com to let us know what we can do to improve My Media for Alexa:- Open a terminal on your Raspberry Pi, either by using the GUI or using ssh
-
Copy and paste this commands into your terminal to uninstall My Media:
sudo apt-get remove mymediaThe console should look like this: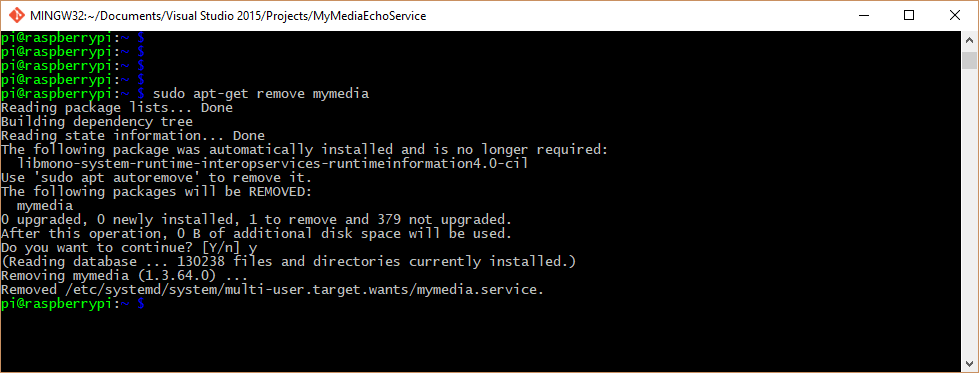
My Media for Alexa will now be uninstalled.
Installing ffmpeg
If you want to stream additional file formats to your Alexa including WMA, M4A, FLAC, OGG, etc, you need to install ffmpeg on your Raspberry pi. Follow these instructions to complete the ffmpeg installation:- Open a terminal on your Raspberry Pi, either by using the GUI or using ssh
-
Copy and paste this commands into your terminal:
sudo apt-get install ffmpeg
You may be asked to confirm you want to complete the installation, if so, type 'y' for yes. - Once installation is complete, open the My Media Web Console and click the Settings tab
- Click the option "Enable Transcoding Support" to 'On'
- The installation path for ffmpeg should be automatically populated with the location of ffmpeg
ffmpeg should now be successfully installed.